As with any project, it is the details that can pull a project together, strengthen the overall concept, and just bring a smile to your face. Below is a video of how we designed an accent wall that became a headboard in a Client’s Master Bedroom. We wanted to add warmth and texture while being economical. We built a test panel for my daughter’s room and then let the pros -in this case Carlsgaard Finish Carpentry -build the final piece. Click on the video and check it out!
Archive for the ‘How to’ Category
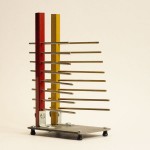
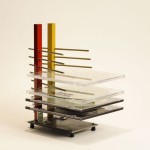
DIY Design – CD Rack
Although most of my product research is now found via the internet, there are still a few favorite ‘stand-by’ resources that are kept on compact disc. While shuffling through CD’s the other day, I reminisced on the racks I had built to store them. Similar to the previous DIY Design posts, here is another example of using inexpensive materials and a few basic tools to change a usually utilitarian thing into something fun and unique.
Half of the fun is over-designing (if there is such a thing!) and being playful…to bring a smile to your face.
I realize that compact discs may soon be gone but wouldn’t these make nice iPad or Kindle storage systems? Or maybe drying racks for reusing tiny plastic baggies? 🙂 Click on the pictures to enlarge.
What Causes Ice Dams?

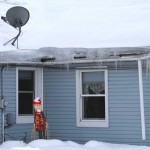
While driving through town yesterday, I took a few pictures (see below) which prompted me to write this post. We have been hit hard here in the midwest with cold temperatures and snow. This sets up a perfect storm to develop Ice Dams.
Ice dams are caused by heat escaping at the intersection of the exterior wall and roof. Older homes are the most susceptible because of the way they used to be built. Typically, 2×4 or 2×6 rafters were set right on the top of the exterior wall framing. This only allows for a minimal amount of insulation at this point. The escaping heat melts the snow that has gathered on the roof and refreezes when it hits the overhang 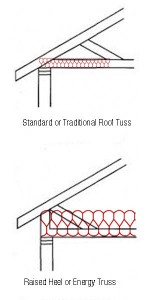 -causing an ‘ice dam’. This can cause major damage to the roof, gutters and siding as well as lead to potential leaks, creating more problems.
You probably have seen the zig-zag heating element wires used to melt the dams at the roofs edge. Ideally, you want to get more insulation at this point so you are not losing heat (thus energy). One option is to put vent chutes in the rafter space, to keep air circulating in the attic, and then use a foam insualtion that has a better R-value at the roof/wall location. Another option,when you next replace the roofing material, is to install furring strips to create venting right under the finished roof. The goal is to keep this material cold so there is no melting.
New construction uses an Energy Heel truss which raises the height of the ‘attic’ area at the exterior wall. This allows for more insulation to be installed at that vulnerable location.
To remove ice dams, the best way is to use steam. There are many services that are equipped for this and it is important to have them removed before more damage is done.
Click on the images below to enlarge.
Tom’s Shop – ‘Drawers’
Stopped by my friends shop (Carlsgaard Custom Cabinets and Carpentry) to see what was going on. He and the crew were putting together some drawers for a casework project. I grabbed my camera and assembled this video using some of the random clips. This was a great test run to hopefully film some other projects with Tom and get some great ‘tips and tricks’. www.carlsgaardcarpentry.com
Get that Television off of the mantel
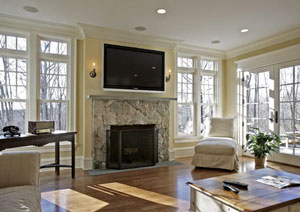
For most of us, the television is part of our daily lives. It provides news and entertainment and keeps us connected with what’s going on in the world. As such, it becomes a room feature that is sometimes embraced or seen as an eyesore. With the holidays over and that new TV staring us in the face, where do we put it?
A trend is to find a compromise, usually by putting it above a fireplace- my neck hurts just thinking about that… I understand that sometimes this is the only place that makes sense for a number of reasons but it sends a mixed message -what is the focal point? Is it the fireplace or television? The hearth is the symbolic center of the home and I guess the television is also becoming that – for better or worse.
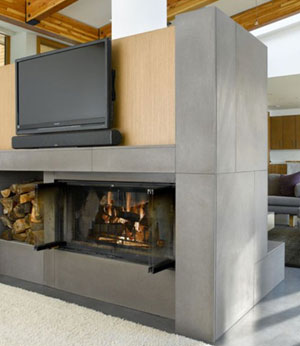
In new construction or a remodeling, we have the opportunity to plan for how a space will be used and thus maximize the placement of these elements. I thought it might be helpful to review a few points as it relates to proper viewing and television setup.
Vertical Angle of View & Screen Height:
For optimum viewing, the eyes of the viewer should be level with the center of the screen.
Maximum vertical angle of view:
In those home theater set-ups where this is not possible, it is recommended that the maximum vertical angle measured at the seated eye height from the front row center seat to the top most part of the projected image should not exceed 35 degrees. This does not represent the optimum viewing angle but rather the limit beyond which the viewer will be subject to an increased neck strain.
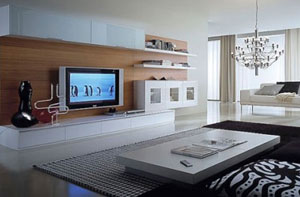
Recommended Viewing Distance based upon the screen size:
26″ 3.25-5.5 feet
32″ 4.0-6.66 feet
37″ 4.63-7.71 feet
40″ 5.0-8.33 feet
46″ 5.75-9.5 feet
52″ 6.5-10.8 feet
58″ 7.25-12 feet
65″ 8.13-13.5 feet
70″ 8.75-14.75 feet
Here is a television viewing distance calculator that can help determine the screen size and seating distances. Here also is another article on setting up a home theater.
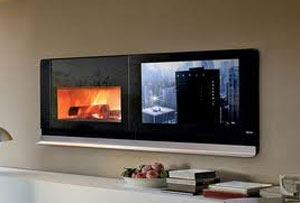
I love kicking back with my family and watching a great movie with a big tub of popcorn on my lap. Why not maximize the enjoyment by thinking through the best possible viewing arrangement? Or just put the television into the fireplace…
HDR – High Dynamic Range Photography
Some of you may be familiar with HDR photography. It is basically the layering together of multiple exposures into one image. The overexposed shot picks up the details in the shadows while the underexposed shot eliminates ‘blowouts’ of highlighted areas. This is extremely helpful for us architects, especially in photographing interiors. Our eyes see many more levels of light then a single camera exposure can capture so an HDR image is more visually accurate…if you want it to be.
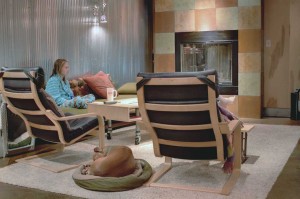
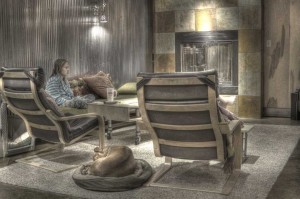
I was first introduced to HDR Photography by the talented photographer Steve Silverman and I thought I would try it myself! The test images at the top of the page (I know, not that inspiring of a scene!) are 3 different exposures of the same shot taken at 2 f-stops apart. Most newer DSLR cameras have this as a standard function. I then imported them into Photomatix, one of the more popular HDR programs. Trey Ratcliff, an expert in HDR has a link from his website for a discount plus some great tutorials. The program has several presets to try and a bunch of sliders to…well, slide. It is fun and frustrating to play with the settings and it takes a bit of trial and error to get something you like.
This first image is my attempt to get a somewhat accurate representation of detail in the shadows as well as the highlight areas. This image is right out of Photomatix. I would then adjust the color, etc. in Photoshop.
The other image is a more surreal or ‘painterly’ look. Kind of fun! Please click on the images to make them larger.
Here are some examples of HDR Photography from people who know what they are doing.
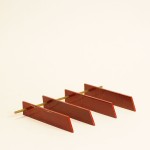
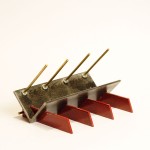
DIY Design – Pen Holder
I love designing things, any ‘things’. Now that we are approaching the Holiday Season, I was reminded of gifts that would find there way to family when I was first starting out in my career. With a tool arsenal comprised of a cordless drill and jig saw, and a wallet filled with, well, not much, homemade gifts became the yearly tradition.
With the ability to drill holes, tighten bolts, do minor metal cutting and push a button on a spray can, visions of knick-knacks danced in my head. Using off-the-shelf items from the local home improvement center, I created a series of pen holders. Hey, who doesn’t have a pen and need a place to put it?
I didn’t have a specific idea when digging in. It was more of a ‘what if I do this or that’. It reminded me of when we used to do ‘rip and tear’ models in architecture school -just let your thoughts become fluid and not get caught up in perfection. You are looking for the idea, the direction, that leads to a solution. The process was cathartic and relaxing. I am a big believer that everyday objects should have beauty and meaning. Why not? As you can tell by these examples, it does not take a lot of skill or know-how to come up with something unique and fun.
The gifts were a hit -at least that is what my brother in California told me. I probably could have bought a descent gift card for the price of shipping a heavy metal object across the country but it’s the thought that counts…right?
Wood Ceiling Installation
When you build any home, there are always those projects you hope to get to ‘when the dust settles’. Well, it took 7 years for it to settle in our family room. This is quick video I put together of a wood ceiling treatment used to hide some of the open structural trusses. I didn’t mind leaving it unfinished but I am only one-fourth of the voices in our home.


